Your Apple ID is the key to using your iCloud account and making purchases in the App and iTunes Stores. If you want to change your Apple ID, perhaps because it is an email address for an account you no longer use, you'll need to sign out of everywhere you use your Apple ID on all your iDevices. This includes the iTunes, iBooks, and App Store, Apple Music, FaceTime, iMessages, GameCenter, iCloud, Find My Friends, and Find My iPhone.
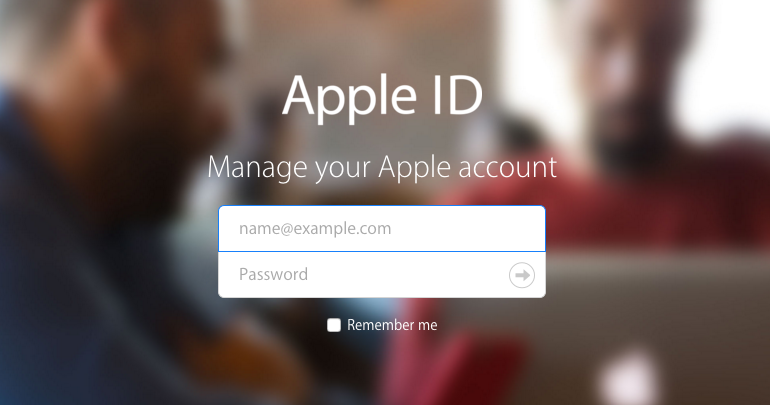
Next, go to the Apple ID page on Apple's website. Here, sign in under Manage your Apple Account. (Here's what to do if you've forgotten your password.)
Share this tip with a friend:
Once you've signed in, click Edit in the Account section at the top of the page.

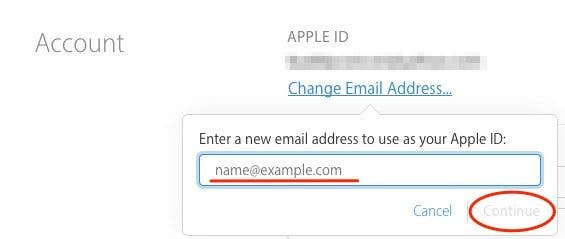
Then, click Change Email Address…

Enter a new email account and tap continue.
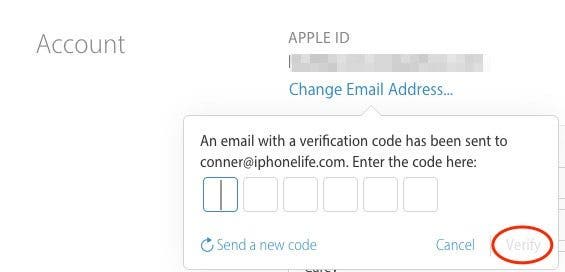
A verification code will be sent to your new email and a window will pop up telling you to enter a verification code. Open the email and find the verification code. Enter the code on the website and click Verify.
Once your new ID is verified you can sign back in on your iDevices to all the services that require an Apple ID. If you forgot to sign out of any service before changing your Apple ID, you will need to sign out and sign in again.
*Please note that Apple email addresses (those ending in @iCloud.com, @me.com, or @mac.com) are already Apple IDs, so if you want to use one as your ID, there is no need to make any changes to your Apple account.


No comments:
Post a Comment